How to cut curves or irregularshapes on a router table |
||||
 |
||||
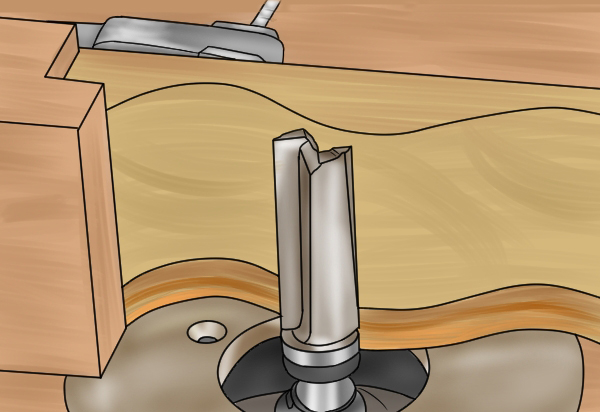 |
Curves or irregular shapes can be cut in material on the router table, either freehand or with the aid of a template, if you use a guided router cutter. This is a cutter which has either a guide pin or a guide bearing. The guide runs along the edge of your material, or a template fixed to the material, keeping the cutting edges at a consistent depth throughout the cut. If you are using a template as a guide, it can be fastened to your workpiece using double-sided tape. |
|||
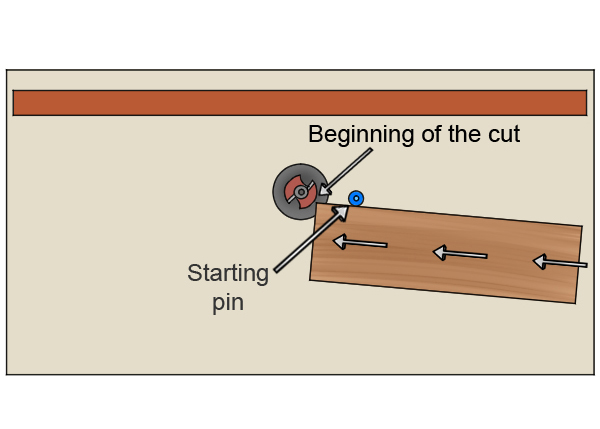 |
Because the router bit will immediately try to grab at the material, starting the cut is the most difficult part of these routing applications. Using a lead on pin creates leverage which will help you to better control the beginning of your cut and prevent the cutter from snatching the workpiece. Lead-on pins are usually accessories that come with your router table and screw into the insert plate, near to the cutter. It works as a supportive pivot point when the guide fence is not being used and allows you to move the workpiece in curved rather than straight lines. |
|||
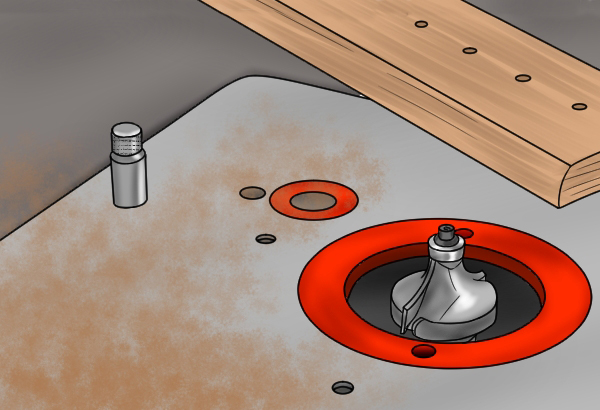 |
Step 1 - Set up router tableSet up your router table according to your manufacturer's instructions and fit an appropriate piloted cutter for the shape you want to rout. The lead on pin is screwed into the insert plate to the right of the cutter. There is usually a specific hole for the pin to fit than is a suitable distance from the cutter. Move the guide fence back so it will not obstruct the movement of the workpiece. |
|||
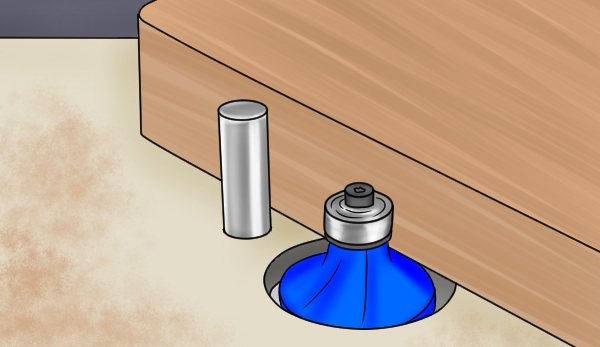 |
Step 2 - Turn on routerTurn on your router and rest the leading edge of the material against the lead on pin. Slowly and smoothly move your workpiece towards the cutter, feeding it against the bit's direction of rotation - right to left. You can use a push block to manoeuvre the material if it's particularly small to keep your hands well away from the cutter. Don't push the material to hard against the cutter. |
|||
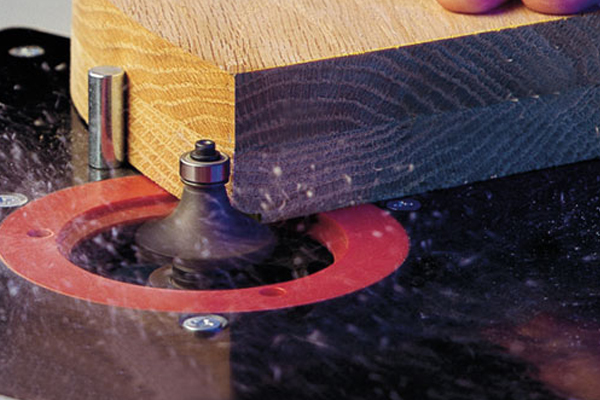 |
Step 3 - Make cutPivot the workpiece on the lead on pin as you feed it into the cutter and use it to guide the workpiece for the desired shapes. As the guide on the cutter takes over, you can gradually move the material away from the lead on pin to work freehand, if required. Guide the workpiece around the router bit, following either the shape of your template or your cutting line until you have completed your cut. |
|||
 |
||||
 |
||||


