How to carve letters andnumbers with a router |
||||
 |
||||
 |
Lettering or numbers can be cut into a material for practical reasons - for example, creating a sign for your house - or it can add a personal touch to something like a box or chest. You'll only be able to do letters and numbers with a plunge router as they will not be cut from the edge of the material. You will probably need some type of clamp so you can secure the template as you rout. | |||
|
|
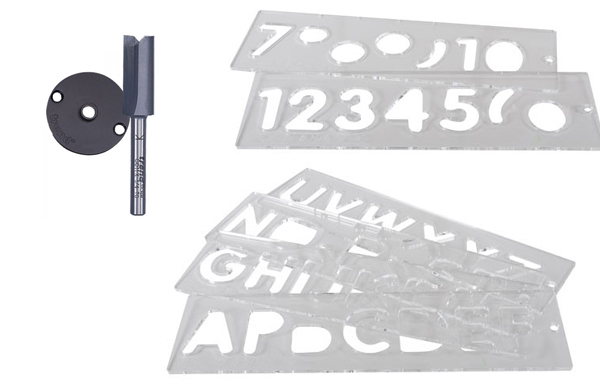
You need to make sure you select the correct size of guide bush and cutter to suit the template you use. The easiest option is to buy a cutter/bush pack which is designed to suit your specific template. You can buy a letter number cutter / bush pack with an 8mm (5/26") straight cutter and a 13mm template guide bush which is designed to work with perfectly with a standard 57mm template set of letters or numbers. |
|||
Before you begin |
||||
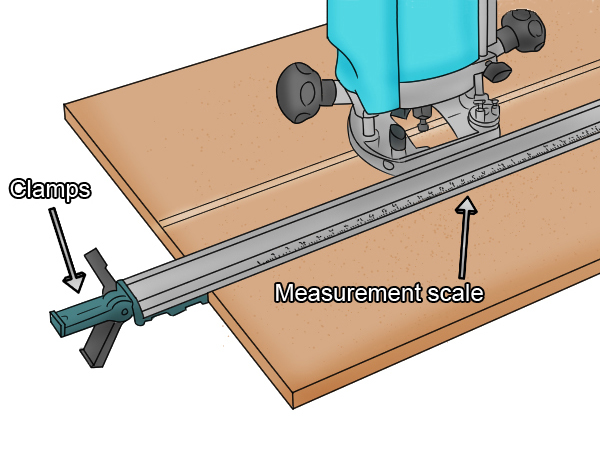 |
Mark your workpieceBefore you make any cuts, it’s recommended that you trace the characters in pencil onto your workpiece, or mark where they will be placed with lines, so that you can space them as desired and ensure they are even. An ideal spacing between characters is 10mm (⅜" approx.), although of course, this will vary depending upon the size of your lettering. You may wish to clamp a guide batten across the bottom of the workpiece to ensure all characters are aligned. |
|||
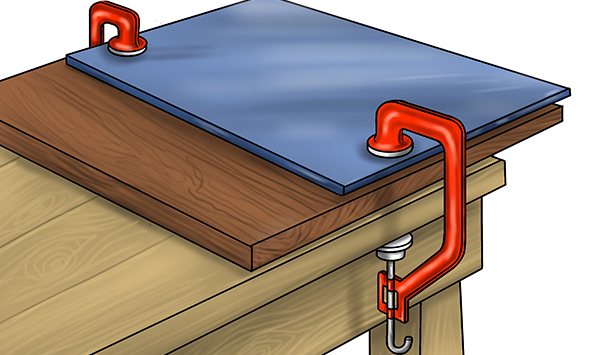 |
Clamp your templateSecure the template to your material using clamps. However, you decide to position the clamps, make sure that they will not interfere with the path of the router at any point during operation. |
|||
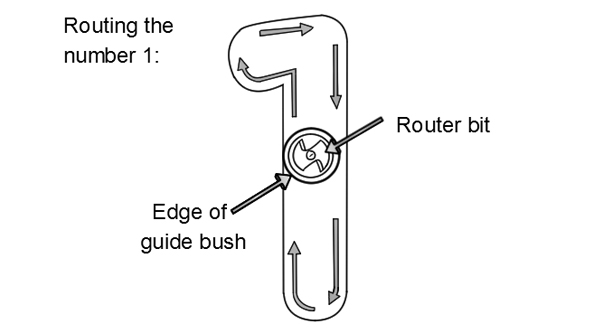 |
Feed directionYou should rout in a clockwise direction around the inside of the template as this is against the rotation of the cutter. |
|||
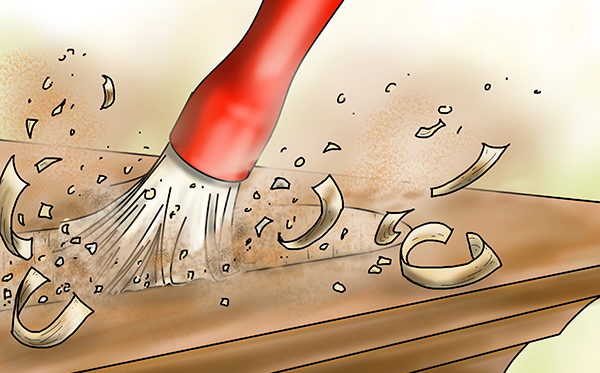 |
Remember:You should take regular breaks when completing a large routing task and check that the guide bush has not become loose. Between passes, you should also remove any waste material with a hand-held blower or soft brush to prevent any debris from misshaping the template. |
|||
 |
||||
Routing the letters or numbers |
||||
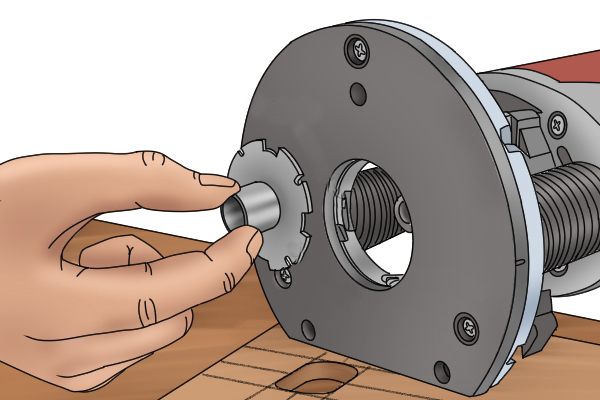 |
Step 1 - Set up routerFit the guide bush to the router’s base or base plate and the cutter in the collet of the router. Adjust the cutter's height to match the depth you wish to cut. For many lettering applications, routing to a depth of 2-3mm (1/16-3/32") is advised. |
|||
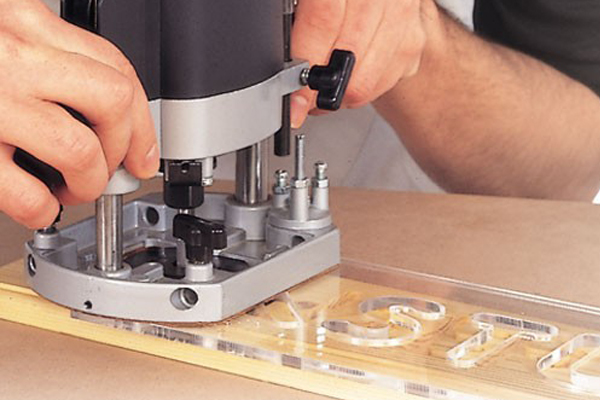 |
Step 2 - Position and begin routingPlace the router on the template so that the guide bush fits into the first aperture you wish to cut. Switch on the router and plunge the router bit into the surface of the material, then activate plunge lock. Move the router in a clockwise direction around the edge of the character, ensuring the guide bush spigot is always touching the inside edge of the template. |
|||
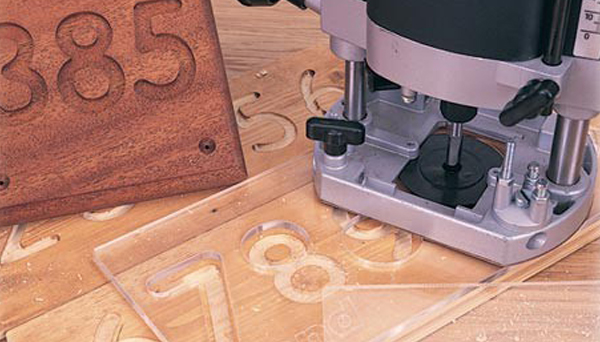 |
Step 3 - Finish characterWhen you reach the end of a character, switch off the router and wait until the bit comes to a complete stop before releasing the plunge locking mechanism and removing the router from the workpiece. |
|||
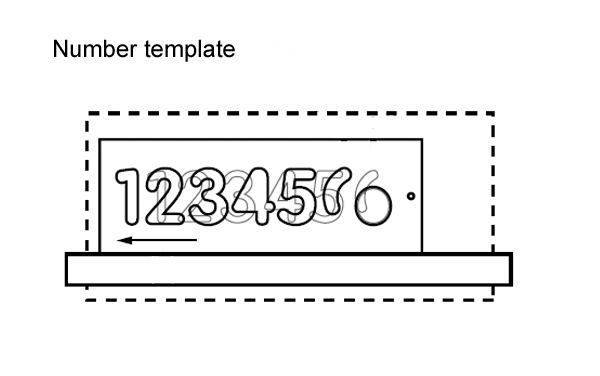 |
Step 4 - Adjust templateKeeping the template butted up against the guide batten if you're using one, release the clamps holding it in place and slide it along until your next character aligns with the correct pencil marking. Then, re-tighten the clamps, switch on the router and continue cutting. |
|||
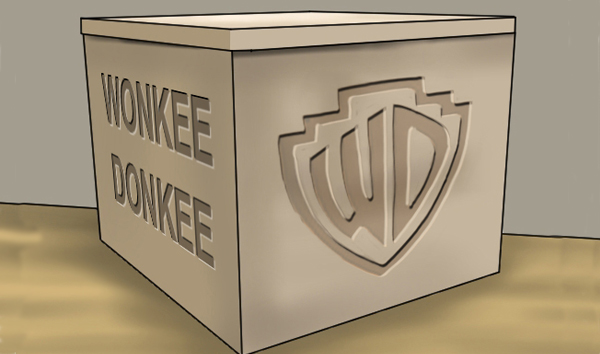 |
Step 5 - FinishOnce you have finished routing your characters, switch off the machine and set aside. Loosen the clamps and remove the guide batten and template to reveal your completed piece. |
|||
 |
||||


