Tips for using a router |
||||
 |
||||
Checking a router before use |
||||
 |
Each time you come to use your router, whether it is mounted in a table or not, you should check it over thoroughly. It's better to spot a problem before you begin work than to become aware of it in the middle of a project. |
|||
Checking hand-held routers |
||||
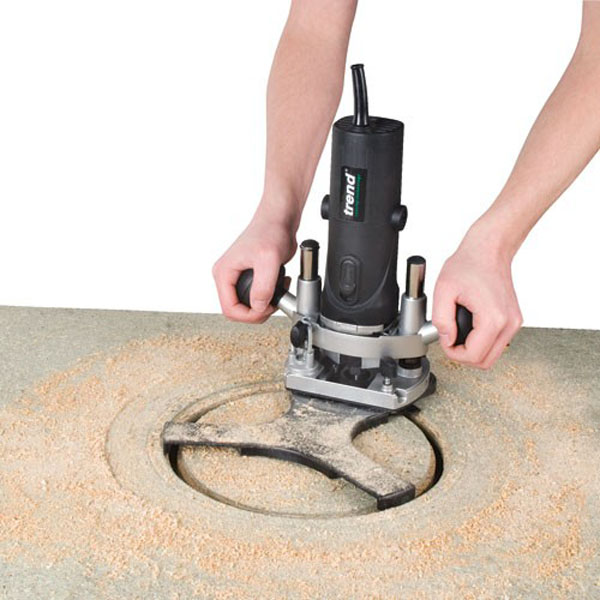 |
Router power cord and plugBefore using the router, check the power cord and plug for damage and make sure there are no exposed wires.
Router height adjustment systemInspect the router's height adjustment system to ensure it's working accurately, including the fine height adjuster accessory if applicable. If you have a plunge router, make sure there are no obstructions (e.g. a build-up of waste material on the turret system) which may lead to inaccuracies later on. You should also inspect the columns of the plunge router for any dents because if they are deep enough they'll prevent a smooth and even plunge-cutting action. |
|||
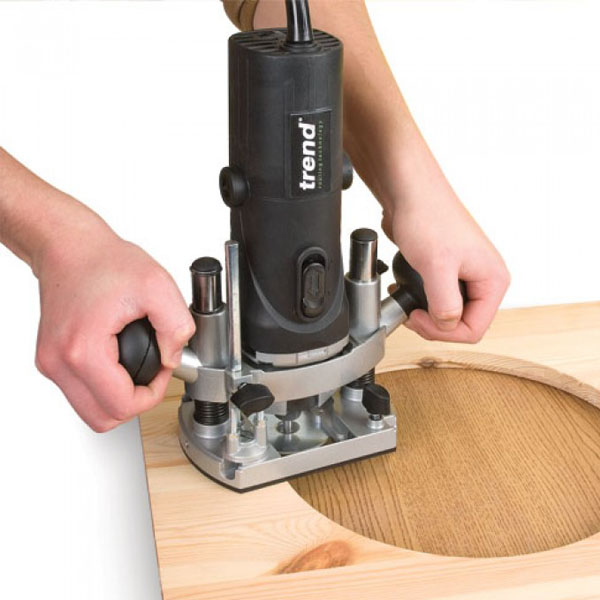 |
Router base plateIf you do a lot of hand-held routing, examine the underside of your router’s base plate or sub base for any burrs or sharp protrusions which could potentially scratch the surface of your workpiece. Materials such as softwoods will be particularly susceptible to damage, and laminate can often be difficult to repair if it becomes scuffed.
Router dust extraction systemIf you have a dust extraction system, you should ensure that the hose is securely fitted to the extraction vacuum as well as to the router, table fence or dust collection box, depending on your particular system. |
|||
 |
||||
 |
||||
Checking router tables |
||||
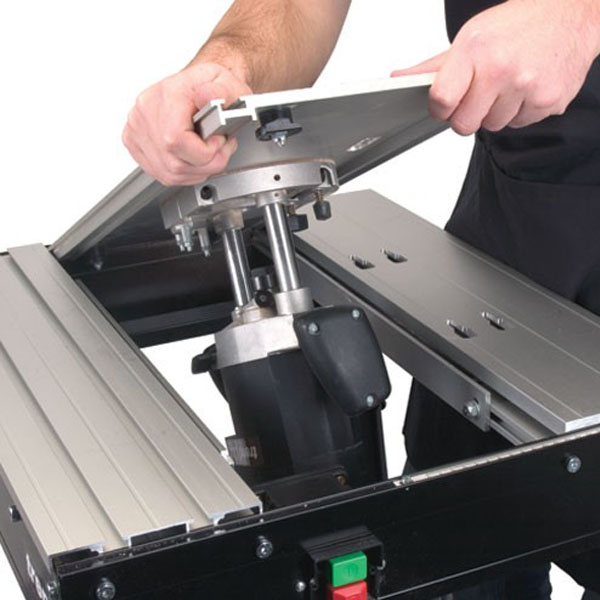 |
You should still perform the above checks if your router is mounted in a table, as well as checking the table itself.
Over time, some router table tops can lose their rigidity and sag, especially if they are supporting a heavy router. You can use a spirit level or straightedge to check that the table top is flat and the insert plate lies flush with its surface.
You should also check that the router table fence is straight and at a right angle to the table top. This will help to ensure it guides your material evenly across the table top and against the router bit. |
|||
 |
||||
Wonkee Donkee's top tips for using a router |
||||
 |
Before you begin routingBefore starting up your machine, familiarise yourself with its on/off controls by reading the user manual and any instructions. When you plug your router in at the mains make sure it's switched off; otherwise it may start up and run out of control. Check your material thoroughly for any screws, nails or particularly large or loose knots which may pose a problem when routing. |
|||
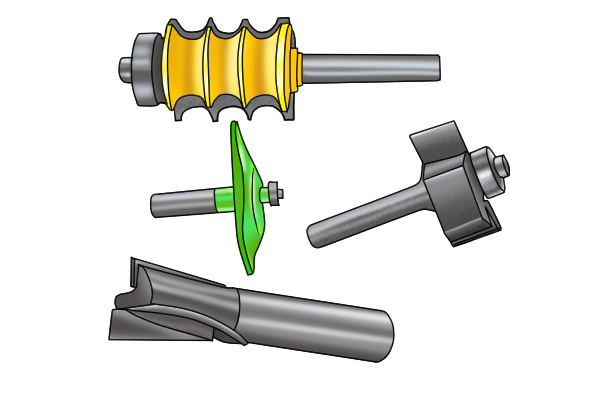 |
Select the right cutter for the job. Using the correct router bit will not only give you the results you want but will also mean the cutter stays sharp for longer. For example, a high-speed steel bit is better suited to non-abrasive materials, so using it to cut a thick plywood board will cause it to blunt quickly. Check the guidelines of individual cutters and bits for what applications they can be used for and what materials they can be used with. Always make sure you switch off and then unplug your tool before inserting or changing bits. |
|||
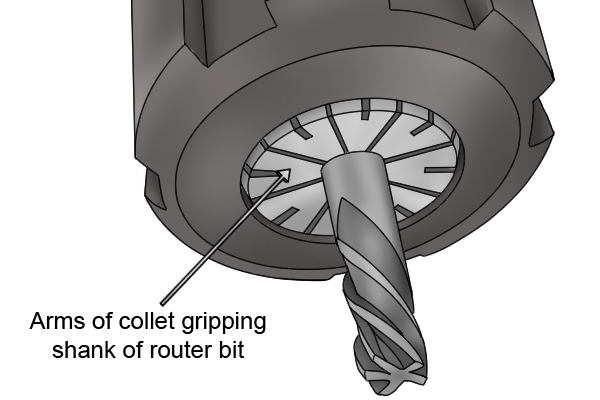 |
Make sure your router bit is secured in the collet. If you’ve followed the instructions in your router’s user manual, the bit should be correctly inserted and secured. If you have any doubts, double check that the retaining nut is tight, and at least 60% of the shank of the bit is held in the collet. If it’s a variable speed router check you selected the appropriate speed for the application and material. |
|||
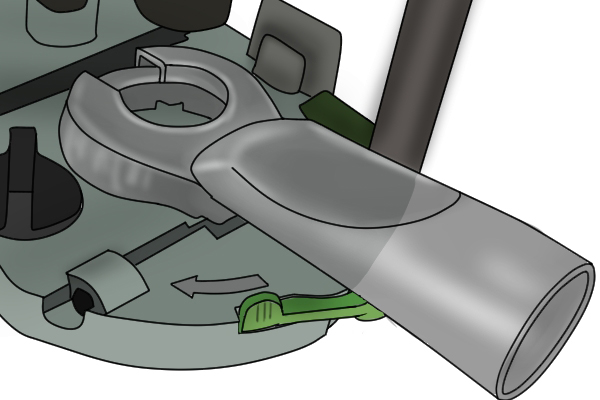 |
Dust extraction and routingIt's generally advisable to use a suitable dust extraction system whenever possible when routing. This is because the cutter will produce a large amount of dust which will fly everywhere, particularly if your routing a material such as MDF. A dust extractor spout, that's compatible with your router, will usually be included with high-quality routers, and adapters are available for different sizes of extractor hose. Your instructions will direct you how to fit the extraction spout for your router. |
|||
 |
||||
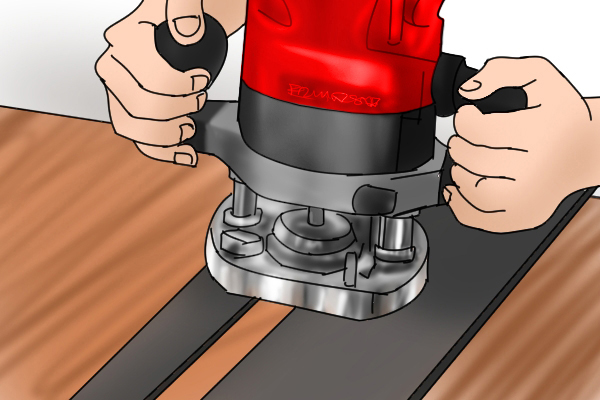 |
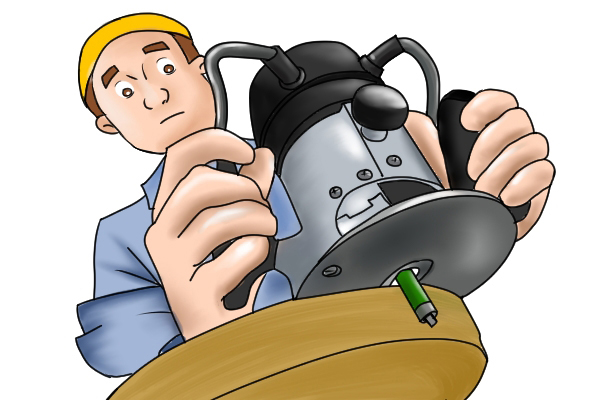
During routingIf you're using your router by hand, grip the handles of the router as firmly as you would someone's hand during a handshake and maintain a firm grip. You need sufficient grip to guide the router, but not so much that it becomes tiring, or your body is tense. When table routing, you should use push tools when routing small pieces of material, while large pieces can usually be fed by hand. If using push tools, grip them firmly and always try to apply pressure from behind the material as well as the side. |
|||
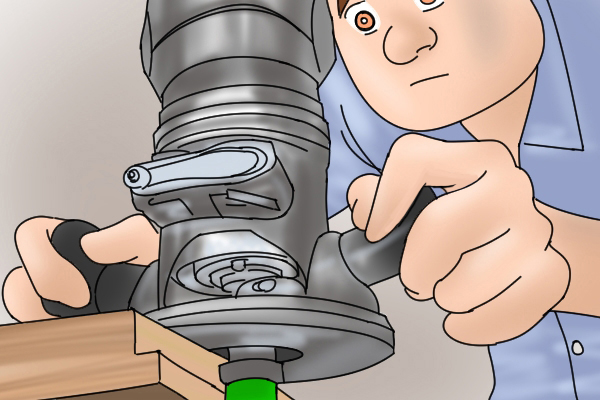 |
Keep the feed rate consistent and be aware of certain areas of your workpiece which may pose problems. For example, corners are areas where users will naturally slow down their feed rate. Try to prepare yourself before you reach these areas, and ensure you always maintain a smooth and constant routing motion. Whether you are routing handheld or on a table, the process should always feel smooth and relatively effortless. If you ever have to force the material past the router bit, or vice versa, something's not right. |
|||
 |
Throughout your project, listen to the sound of the router’s motor before, during, and after you’ve made your cut. Early signs of router problems can usually be picked up by the sounds it’s making, not to mention whether you are feeding at the correct rate. When approaching the end of a cut, some people unintentionally speed up, and rush the cut, which can result in the work having a rough or uneven edge, so try to keep your routing motion smooth and consistent until the end. Wait until the router bit comes to a complete stop before you remove the router from the workpiece. |
|||
How to avoid router tear-out
|
||||
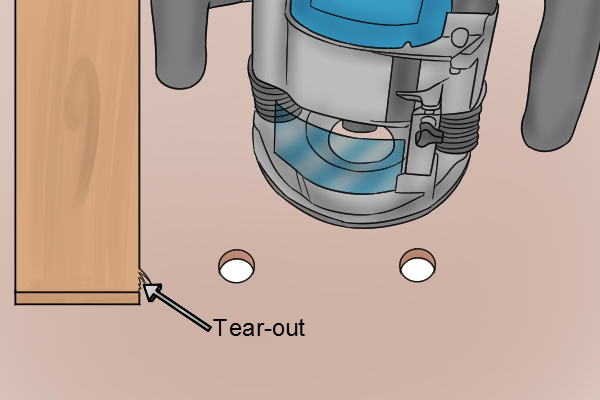 |
Tear-out occurs when the fibres that are being routed are left unsupported. Although tear-out can happen during any routing application, it is particularly common when making a curved or irregularly shaped workpiece. Routing along the edge grain or end grain of a workpiece is more likely to result in tear-out, although there are a number of ways in which it can be reduced or prevented. |
|||
 |
Use sharp router cutters, or bits. Instead of cutting cleanly through the material, blunt bits will grab and pull at the workpiece, leaving a rough and untidy finish and increasing the chance of tear-out. Cut progressively. Trying to remove too much material at once can also cause tear-out. When making a deep cut, gradually remove small amounts of wood in a series of shallow passes. Removing around 3mm (⅛") of stock with each pass until you reach your required depth is a sensible approach. |
|||
 |
Try and cut with the direction of the wood grain wherever possible. This will enable you to produce a smoother cut. If you rout against the grain (edge grain in particular), the fibres of the wood are likely to catch on the bit and break apart to create tear-out. If you are routing every edge of the workpiece, it is recommended that you rout the end grain first as you will be able to eliminate any tear-out when you rout the adjacent edges. |
|||
 |
When a router bit reaches a corner of a workpiece, it tends to snag on the grain of the wood, resulting in tear-out. Clamping a sacrificial block of wood to the end of your work will support the edge of the workpiece and prevent its wood fibres from breaking. If making a straight cut using a table-mounted router, a zero-clearance fence will effectively support your workpiece and reduce the chance of tear-out. As the material moves past the router bit, it will be immediately reinforced by the out-feed side of the fence so tear-out will be less likely to occur. |
|||
 |
||||


