How to cut out inlays with a router |
||||
 |
||||
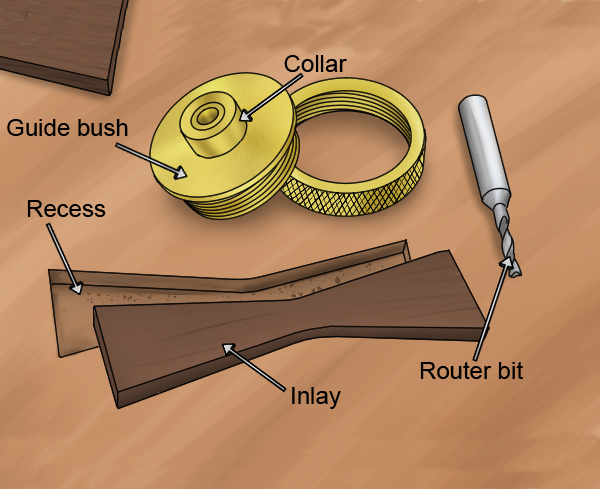 |
The easiest way to create inlays with a router is by using a guide bush with a guide bush alloy collar. This is a metal ring that fits around the spigot of a guide bush, allowing you to cut both the recesses and inserts needed when inlaying, using only one template. Inlays don't usually start at the edge of any materials, so you can only produce them with a plunge base router, and not one with a fixed base.
These instructions are for using a standard female template if using a male template you'll need to reverse the instructions. |
|||
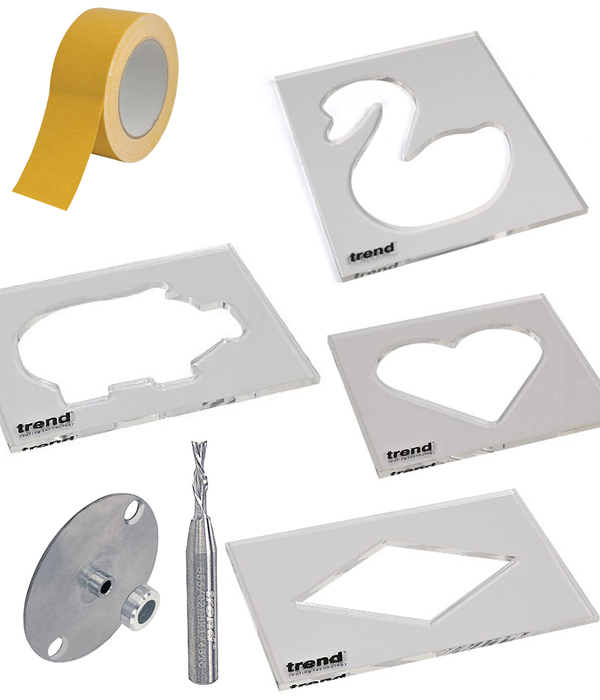
Things you will need: |
||||
 |
|
|||
Before you begin |
||||
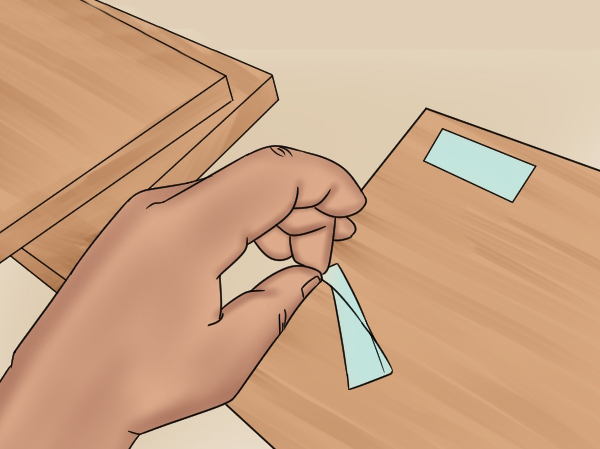 |
Check and secure templateAny rough parts or imperfections on the edge of the template will be picked up by the guide bush or collar and transferred to your workpiece, so you need to make sure that the edge is smooth and even. If used correctly inlay templates should last a long time with minimum maintenance required. Whether you are routing the inlay or the recess, your template should always be secured to your material. A strong double-sided sticky tape is recommended to form a secure yet non-permanent bond. |
|||
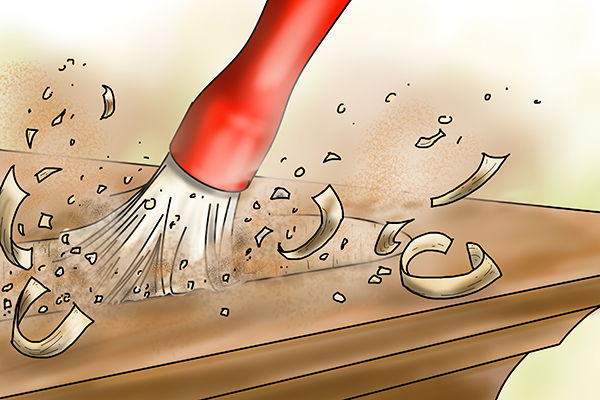 |
Remember:You should take regular breaks when completing a large routing task and check that the guide bush has not become loose at any point. Between passes, you should also remove any waste material with a hand-held blower or soft brush to avoid any debris obstructing the cut or misshaping the template, and so you have a clear view of the material you're routing. |
|||
 |
||||
Routing the recess in the workpiece |
||||
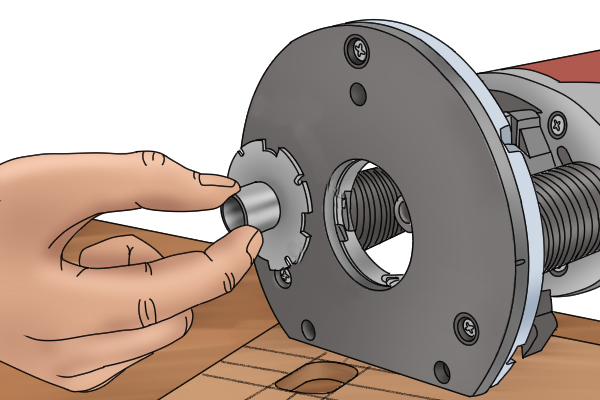 |
Step 1 - Set up routerFit the guide bush to the router and slide the collar onto the spigot of the bush. This will increase the offset so the pattern produced will be the correct size to fit the inlay piece. You can then install the router cutter.
For more information see: |
|||
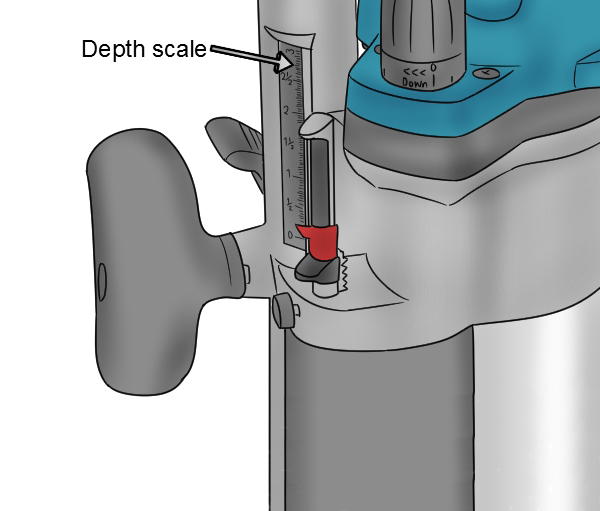 |
Step 2 - Set cutting depthSet the height of the cutter to match the thickness of the inlay material. If this is more than 3.2mm you will need to cut the full depth with more than one pass of the router. You can either use the router's turret system to do this, or you can simply plunge the router bit to about half way and activate the plunge lock mechanism for the first pass and then allow the router to plunge the full amount on the final pass.
For more information see: |
|||
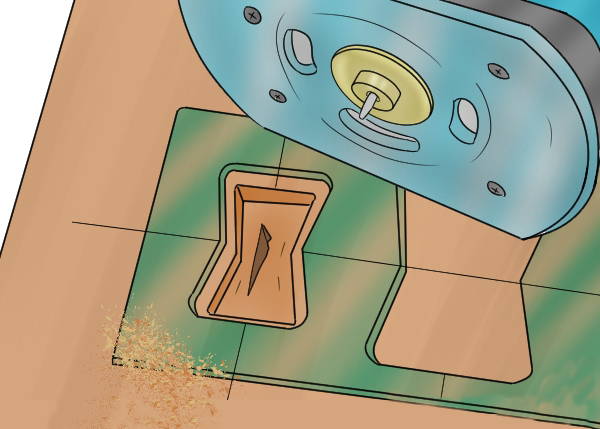 |
Step 3 - Begin routingPosition the router on the template, switch it on and lower the cutter into the material. Keeping the collar fitted to the guide bush pressed against the edge of the template, move the router in a clockwise direction around the inside of the template. Once you have cut the outline of your recess, you can move the router around the rest of the shape to remove the remaining material. |
|||
Routing the inlay
|
||||
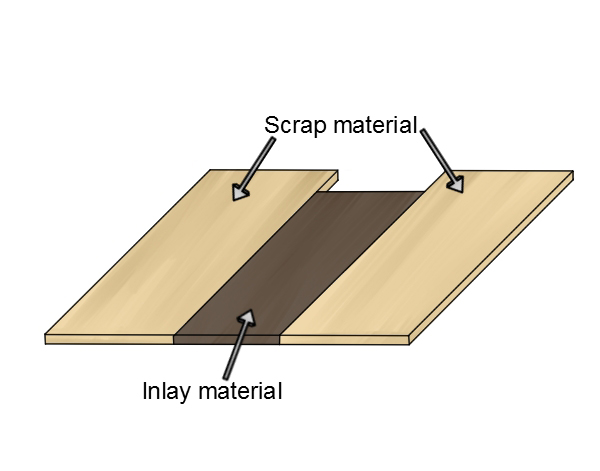 |
Step 1 - Support materialIf your inlay material is particularly narrow, flank it on either side with pieces of scrap material of the same thickness. This will provide support for the template and router base plate when cutting. You will need to secure the area from which the inlay will be routed with double sided tape, as well as securing the template in place. This will keep the inlay in place once the cut is complete. If you need to, you can clamp the template and the outer waste material so it is totally secure. |
|||
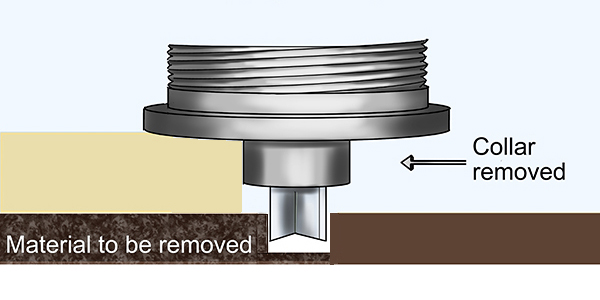 |
Step 2 - Remove guide bush collarRemove the alloy collar and set aside. This will now move your cut outwards so the inlay will be the correct size to fit into the recess. |
|||
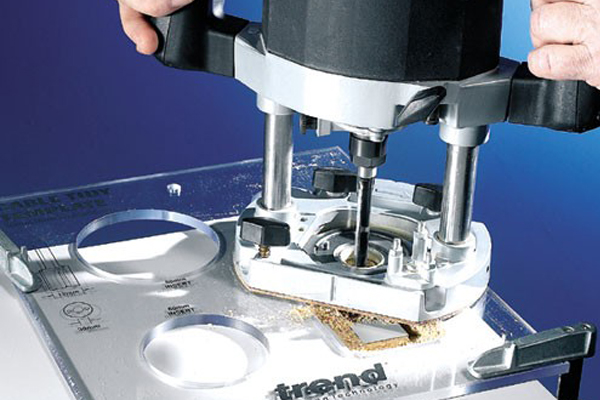 |
Step 3 - Begin routingPress the guide bush's spigot up against the edge of the template, switch the router on and plunge the bit into the material. If you need to you should cut the inlay in a series of progressive passes. Always move in a clockwise direction around the inside edge of the template. You must ensure the guide bush is always pressed against the template to avoid any errors. |
|||
Fitting the inlay |
||||
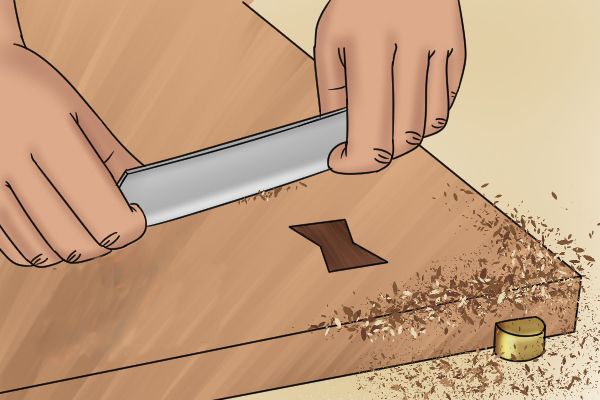 |
Test the inlay in the recess, it should be a tight, neat fit. You may find you need to use something like a chisel or sandpaper to get the edges and corners on both pieces to make a perfect fit. Don't over sand though or there will be a gap around the inlay and the recess. Usually, the inlay is glued into place and, if necessary, it can be tapped down with a mallet so it sits flush to the rest of the workpiece. If it isn't flush, you should be able to sand or even plane down the surface until it is completely level. |
|||
 |
||||
 |
||||


