How to cut a stopped grooveon a router table |
||||
 |
||||
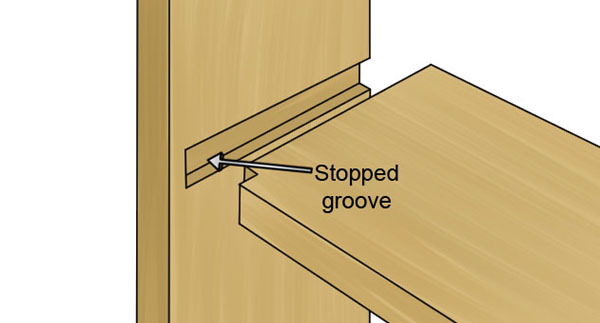 |
Making a through-cut on the router table is relatively easy, but what about when you don’t want to rout all the way across the material? When a groove begins or ends before the edge of a workpiece, it is called a stopped groove. Stopped grooves are commonly used as part of dado joints or mortises when making cabinets and bookcases. |
|||
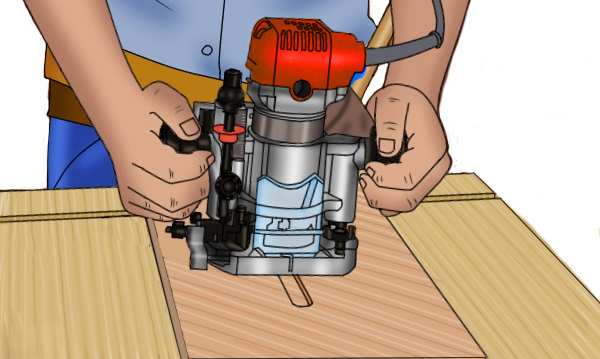 |
Stopped grooves can be made using a hand-held plunge router. This involves lowering the cutter into the workpiece, running it along the edge using an edge guide, then raising the cutter out of the material at the desired point. This method is advisable when routing 'blind grooves' (grooves which start and end inside the edge of the material). |
|||
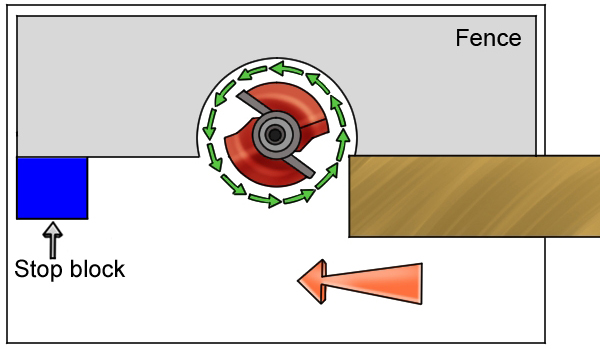 |
However, the instructions below explain how to rout a stopped groove, which starts at one edge of the material but ends before reaching the other edge, using a table-mounted router with a fence as this is a more precise and efficient way of making this kind of cut. |
|||
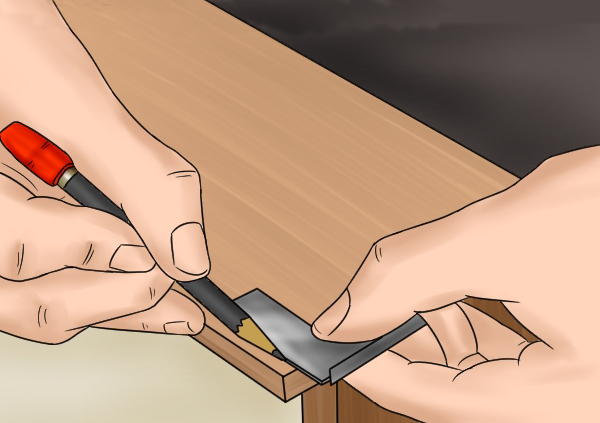 |
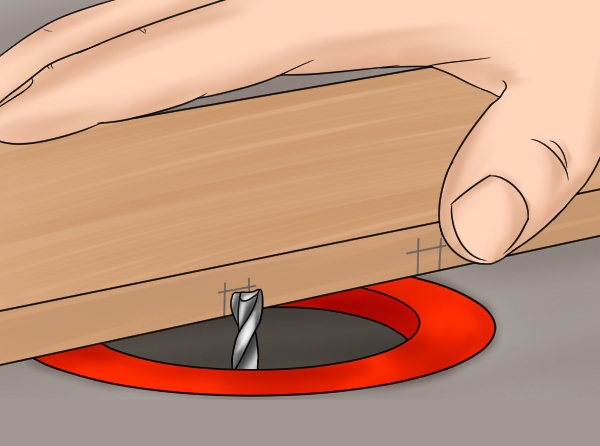
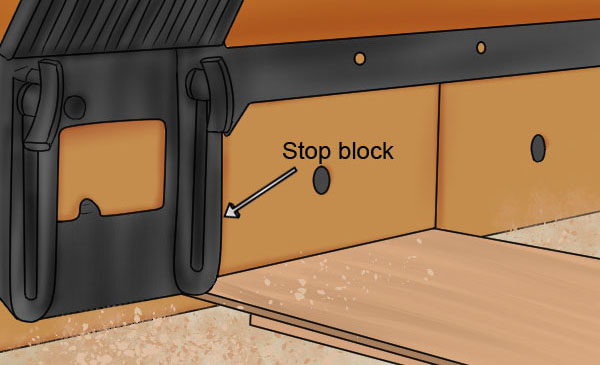
Step 1 - Mark workpiece and position fenceWith a pencil, mark the intended position of your groove and measure the distance between the edge of your workpiece and this mark. Then set your router table fence so that it is positioned this far away from the cutter. Secure a stop block to your fence. Measure from the stop block to the furthest edge of the cutter; this should be equal to the length of groove you wish to cut. |
|||
 |
Step 2 - Set height of cutter and test cutSet the projection of the cutter above the table. This will determine the depth of your groove. Remember, deep cuts must be made progressively with multiple passes. Before routing your workpiece, make a test cut in a piece of scrap material to ensure that the fence is correctly positioned and the cutter is set at the right height. Set your workpiece against the fence, turn on your router, then move your material over the bit until it meets the stop block. |
|||
 |
||||
 |
||||
 |
Step 3 - Make cutTurn on your router and gradually feed your workpiece into the cutter. Keep the material firmly pressed against your router table fence as you progress through the cut. Continue pushing your workpiece past the cutter until it reaches your stop block and you can turn off the router. |
|||
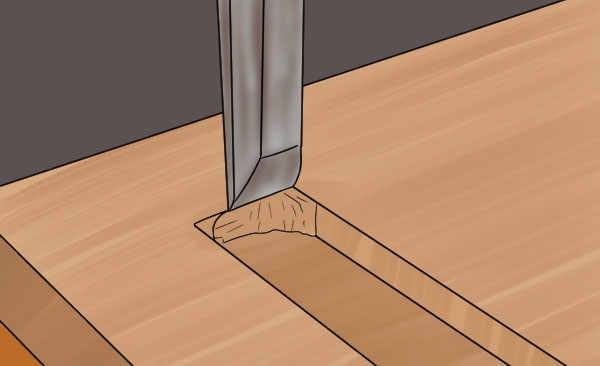 |
Step 4 - Square up corners of grooveIf your groove has been made as part of a dado joint, you will need square its corners so that it will be able to accommodate the joining piece. When you have successfully routed your groove, use a chisel or narrow knife and a mallet to remove waste from its corners. |
|||
 |
||||


