How to plane straight edges on a router table |
||||
 |
||||
 |
Planing straight edges is an important step in the preparation of wood when jointing. Jointing, in woodworking, refers to straightening and squaring edges so they can be joined together. Because wood is often sold with warped or slightly misshapen edges, planing is necessary to ensure the edges are perfectly straight or the joint will not fit together properly. |
|||
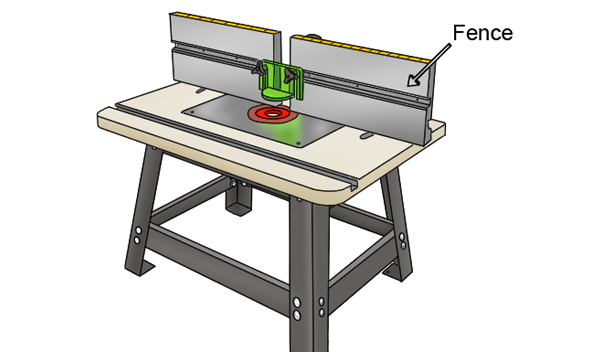 |
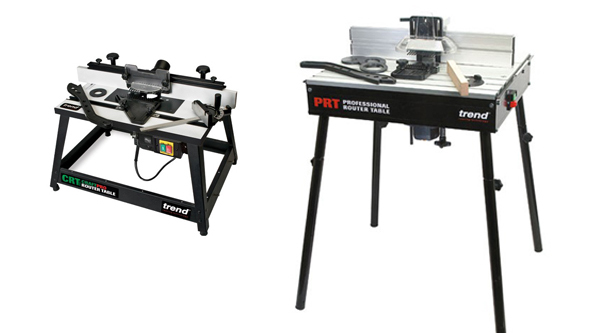
A table-mounted router with a flush trimming cutter, or a straight cutter installed, along with an adjustable guide fence which can be offset, can be used for this task. The smooth, straight edges that will be left by the router will allow you to create an almost invisible seam joining pieces together. The guide fence can be positioned to ensure the cut is straight and square. |
|||
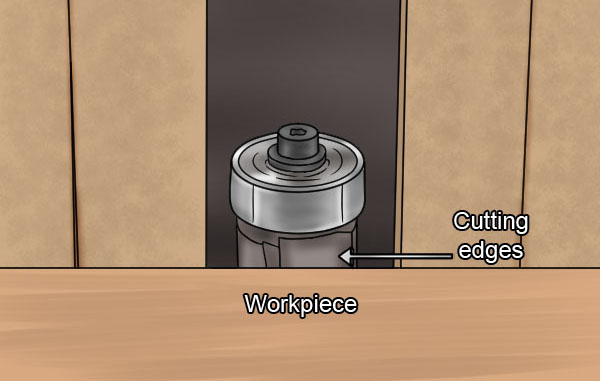 |
Step 1 - Set up router tableInstall your cutter in the collet of your machine and adjust its height. The cutter should be positioned high enough to ensure its cutting edges are fully in contact with the workpiece. To achieve a perfectly straight edge, the left (out-feed) sub-fence must be positioned slightly further forward than the right (in-feed) sub-fence. |
|||
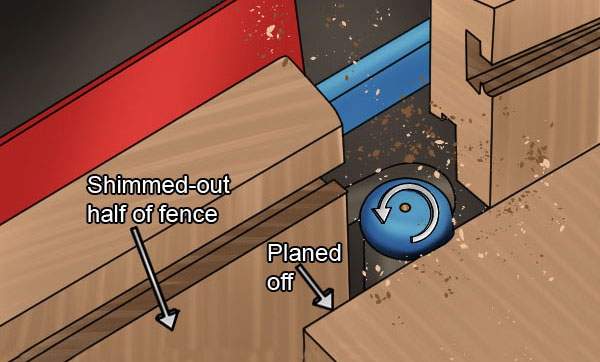 |
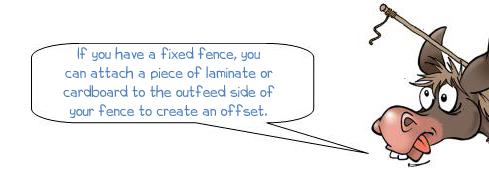
This can be done through various methods, depending on the model of router table you own. Consult the manufacturer's instructions to see if you can offset the guide fence, and if so, how this is done. This can be called shimming and will ensure that the planed workpiece is properly supported after it has travelled past the cutter and had material removed. |
|||
 |
||||
 |
||||
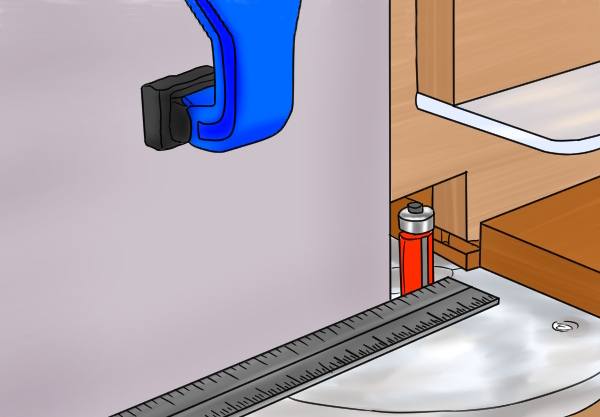 |
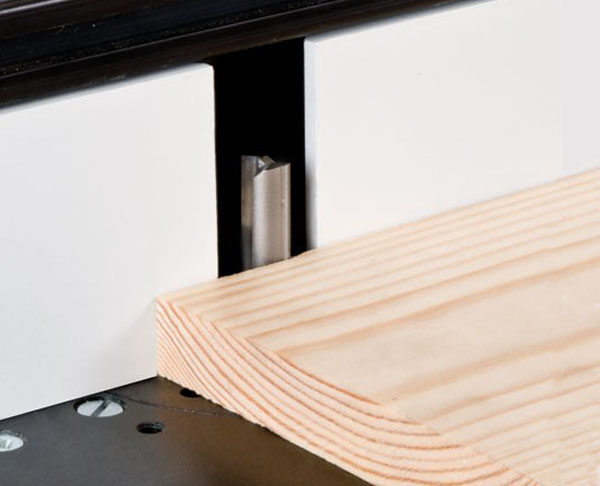
Adjust the sides of the fence so that they are close to the router bit on either side. This will ensure that they provide the maximum support for the wood during the cut.
Then, with something like a straight edge, align the outfeed sub-fence so that it is level with the cutting edges of the trim cutter. This set up means that as the material is cut the new edge will slide smoothly onto the outfeed side of the fence and be fully supported. |
|||
 |
Step 2 - Make practice cutBefore planing your workpiece, it's a good idea to test the alignment of your fence by making a practice cut. Turn on your router and run some scrap material across the table, using the fence to guide and support the piece. Feed the material from right to left.
If you find that the edge of your test piece is not straight, slightly adjust the position of the fence before trying again. |
|||
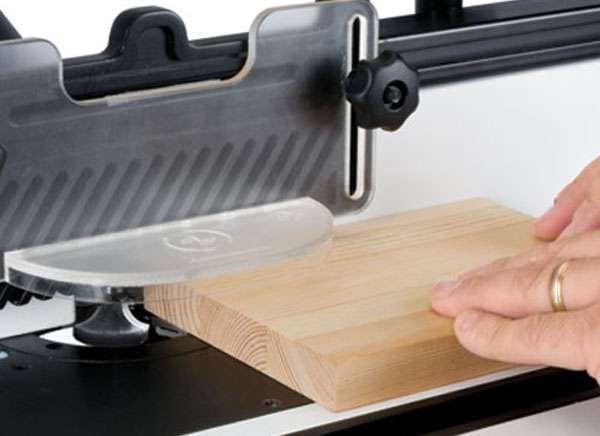 |
Step 3 - Make cutOnce you are satisfied with the set-up of your fence, you are ready to cut your workpiece. Move the material especially carefully as you begin your cut until the cut edge is being fully supported by the outfeed side of the fence.
You may need to make a couple of passes, especially if you need to take more than a few millimetres off an edge, but eventually, you should be left with a clean, straight edge. |
|||
 |
||||


